Geeky Trick: Set Windows Photo Viewer's Background Color to Black


I don’t care that there are a myriad of image viewing applications out there, nor do I care that Microsoft’s new image viewing application is Photos. Ever since Windows XP, I do most of my image viewing with Windows Photo Viewer.
The thing that annoys me about Windows Photo Viewer is that the background color isn’t black. Not by default anyway. But with a bit of tinkering, it can easily be changed to black. Here’s what you have to do.
Step 1 – Open the Registry Editor
There are several ways to access the Registry Editor. On Windows 10, you can just type regedit in to the Search Bar. On older Windows editions, you can press the Windows key to bring up the Start Menu and then type in regedit into the search box. Or you could bring up Command Prompt (cmd) and type in regedit.
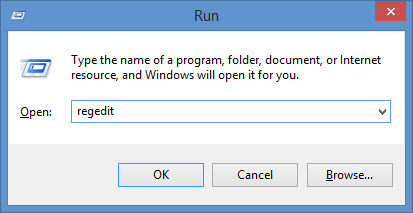
My favorite method is to use the Win + R hotkey to bring up the Run menu and then type in regedit.
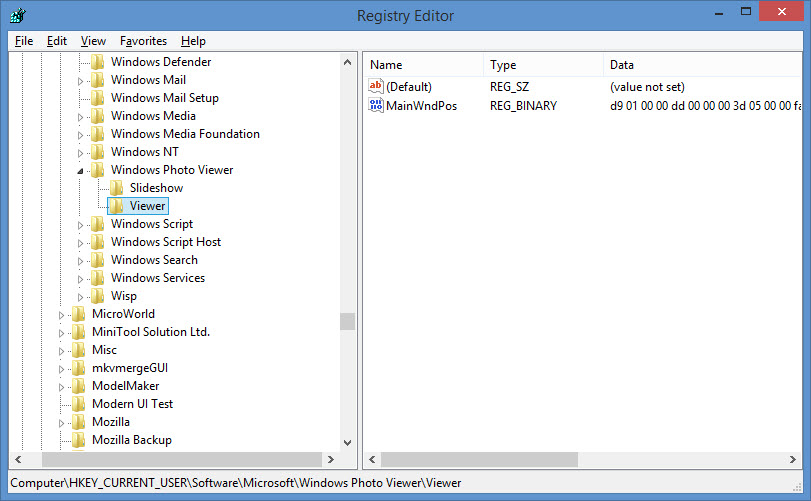
Step 2 – Find Windows Photo Viewer
Follow this path:
HKEY_CURRENT_USER\Software\Microsoft\Windows Photo Viewer\Viewer
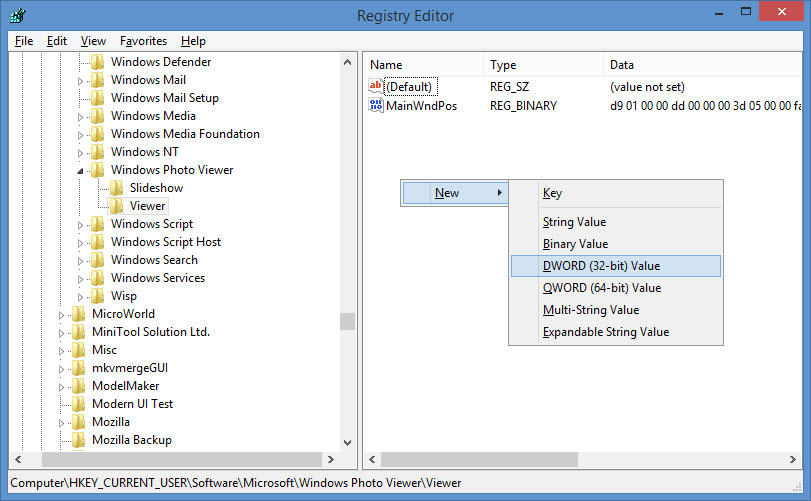
Step 3 – Create a new DWORD value
Right click anywhere on the right hand side to bring up the New menu and then select DWORD (32-bit) Value. Name the new value BackgroundColor.
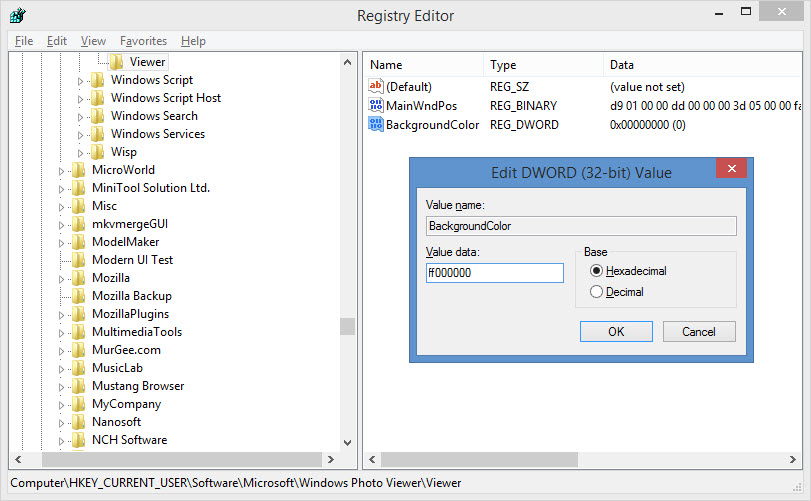
Step 4 – Edit the new DWORD value
Double click BackgroundColor to edit it. Enter the HEX code ff000000.
Close the Registry Editor and you’re done. You won’t have to restart your PC to see the changes. Speaking of which…
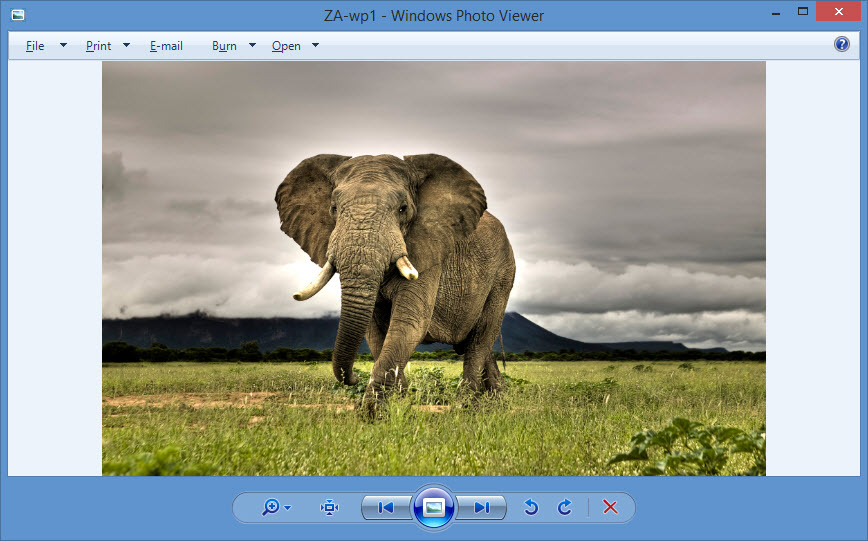
Here’s how the Windows Photo Viewer window looks like by default.
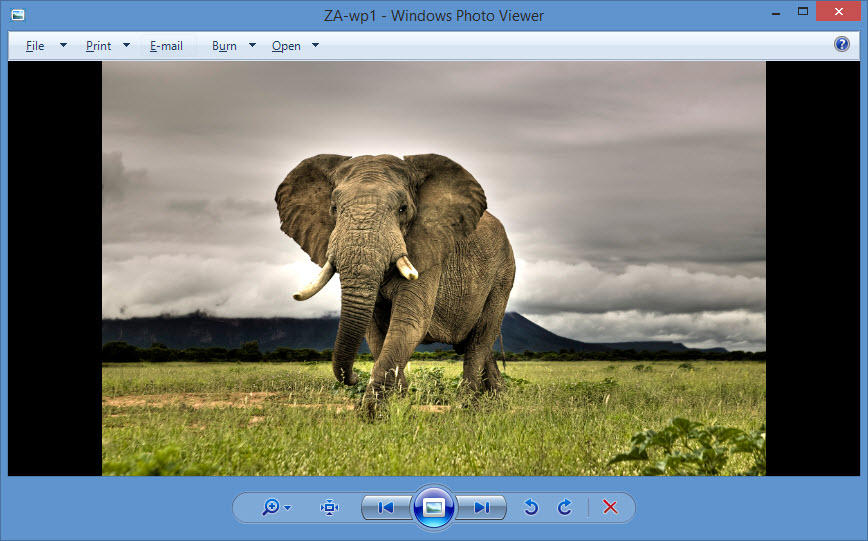
And here’s how it looks like after changing the background color to black.
The thing that annoys me about Windows Photo Viewer is that the background color isn’t black. Not by default anyway. But with a bit of tinkering, it can easily be changed to black. Here’s what you have to do.
Step 1 – Open the Registry Editor
There are several ways to access the Registry Editor. On Windows 10, you can just type regedit in to the Search Bar. On older Windows editions, you can press the Windows key to bring up the Start Menu and then type in regedit into the search box. Or you could bring up Command Prompt (cmd) and type in regedit.
My favorite method is to use the Win + R hotkey to bring up the Run menu and then type in regedit.
Step 2 – Find Windows Photo Viewer
Follow this path:
HKEY_CURRENT_USER\Software\Microsoft\Windows Photo Viewer\Viewer
Step 3 – Create a new DWORD value
Right click anywhere on the right hand side to bring up the New menu and then select DWORD (32-bit) Value. Name the new value BackgroundColor.
Step 4 – Edit the new DWORD value
Double click BackgroundColor to edit it. Enter the HEX code ff000000.
Close the Registry Editor and you’re done. You won’t have to restart your PC to see the changes. Speaking of which…
Here’s how the Windows Photo Viewer window looks like by default.
And here’s how it looks like after changing the background color to black.